

The shock indicator label is a precise impact-monitoring device. When used correctly, it helps detect handling events that may have exposed a shipment to damaging G force. Proper selection, placement, and application are all critical to getting meaningful results and protecting your shipment.
Transportation testing and packaging validation often utilize procedures published by ASTM International to evaluate how products and packaging perform under handling stresses commonly encountered during storage and transit. These evaluations help organizations establish inspection criteria and determine appropriate impact indicator thresholds.
Steps for Use
- Apply the warning label in the correct position on the package.
- For field-armable Impact Indicator 2, follow its arming and mounting instructions. Impact Label is always active and does not use the same arming procedure. Use the matching companion/framing label for the selected model.
- Place a small warning sticker on the bill of lading to alert handlers that the shipment is being monitored with a shock indicator label.
Placement Matters
Indicator placement is one of the most important parts of successful shock monitoring. The position of the indicator affects how it responds to impact, which means placement can influence the effective sensitivity of the product.
As a general best practice:
- Small boxes: place the indicator near a top corner.
- Large boxes: place the indicator close to a side at about one-third of the package height from the bottom. For example, on a 30-inch-high carton, place the indicator about 10 inches up from the floor.
- Use the exact model’s current mounting instructions and validate placement on the actual package. Do not change sensitivity merely to suppress activations; investigate the mounting location and response first.
- Use the exact model’s current mounting instructions and validate placement on the actual package. Do not change sensitivity merely to suppress activations; investigate the mounting location and response first.
Recommended Placement by Sensitivity
impact indicator specifications and options
Bottom corner for large goods
impact indicator specifications and options
Bottom corner for large goods
impact indicator specifications and options
Top corner for small goods
Bottom corner for large goods
impact indicator specifications and options
Top corner for small goods
impact indicator specifications and options
Top corner for small goods
Recommendations for the Placement of Product Models:
The following placement examples concern the pictured Impact Label family. Confirm current model instructions and validate the actual package; do not apply this table automatically to Impact Indicator 2.
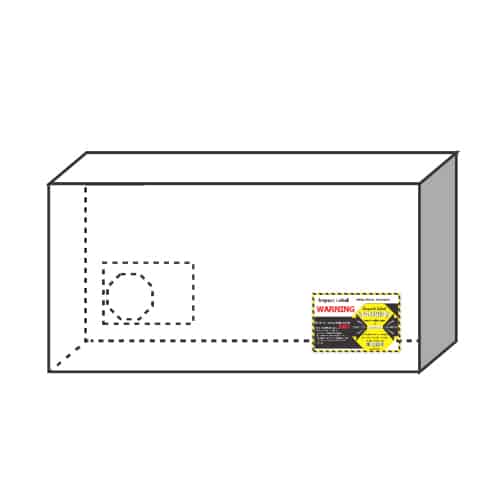
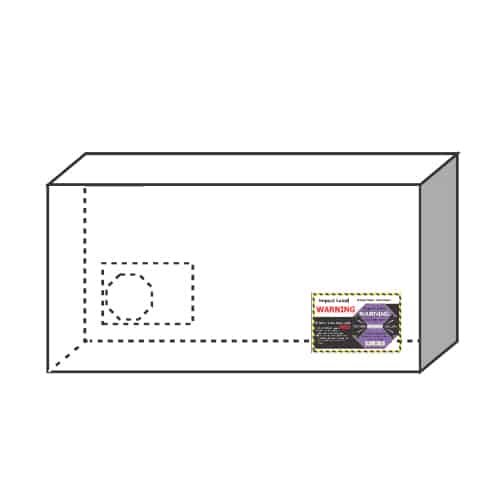 Bottom Corner for Large Goods
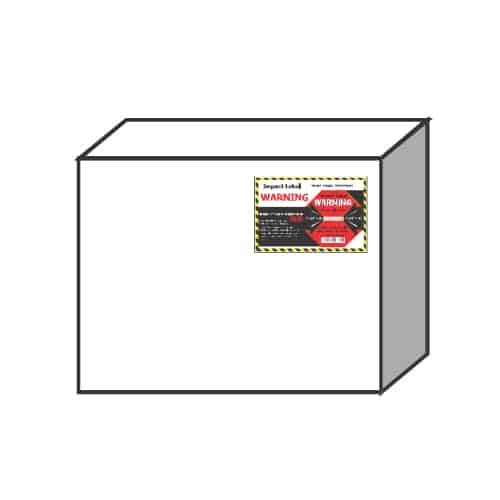
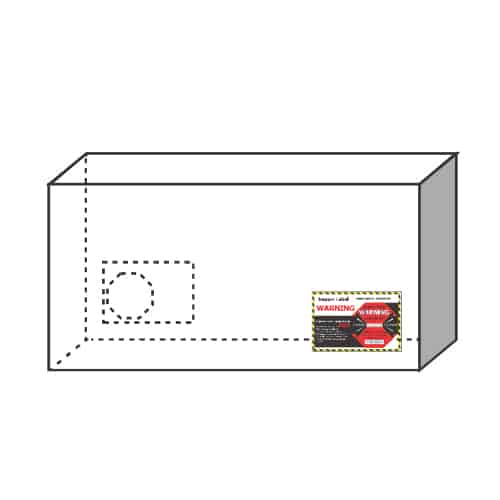 Bottom Corner for Large Goods
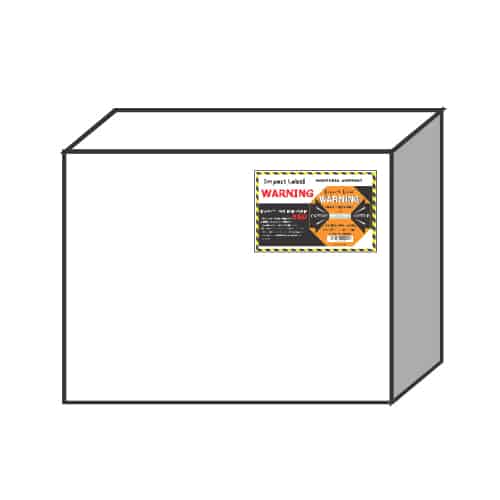 Top Corner for Small Goods
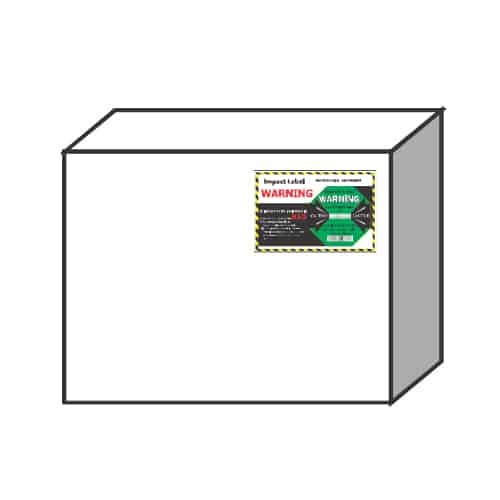
***Important
Mount on a clean, rigid surface in the orientation specified for the exact model. The suggested locations shown are starting points for the pictured Impact Label examples, not universal instructions for every indicator or package.
For best results, indicator selection should also consider package size, weight, fragility, and placement location—not just the target drop height.
Need help choosing the right sensitivity or placement? Contact a ThermLogix technical expert. We are ready to help with your shipment damage detection requirements.
Note: Many manufacturers validate packaging performance using transportation testing methodologies developed by the International Safe Transit Association (ISTA) to better understand how products respond to impacts, vibration, and real-world shipping conditions before deployment.